Using The Bloom Display Settings
Bloom gives you complete control over where each of your opt-in forms appear on your website.
Display Settings Control Where & When Your Opt-Ins Are Displayed
Whenever you create a new Pop-Up, Fly-In or Below Post opt-in, you will be presented with a set of “Display” settings. These settings are used to control where on your website your opt-in will appear, and well as when it will appear. You can choose to display your opt-in on your entire site, or you can choose to display you opt-in on individual posts or post types. If you are building a Pop-Up of Fly-In, you can also adjust a set of “trigger” that affect when your opt-in is displayed. For example, you could create a Pop-Up that exists on all pages, but is only triggered when a visitor reaches the bottom of your post. Or you could create a fly-in to exists only on a certain category of posts, and is only displayed after a visitor comments.
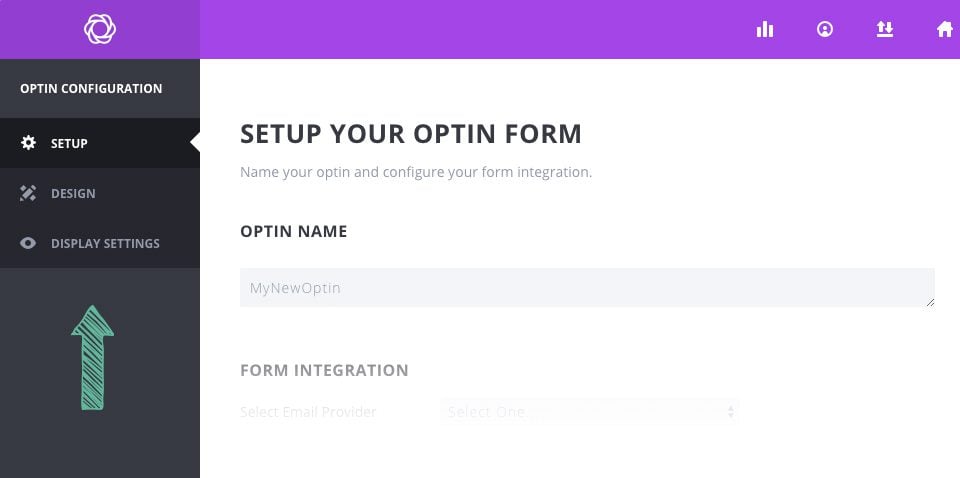
By targeting specific opt-ins to specific parts of your site, you can optimize them to be more relevant to your visitors. For example, you would might not want to offer a special discount to someone who is ready your blog post about “web design,” but you might want to offer them a free ebook where they can learn even more. You might not want to offer a potential customer who is browser your WooCommerce storefront a free eBook, but you might want to offer then a 20% discount in exchange for joining your list. These are just two example of how building specific opt-ins for specific locations on your website can be highly effective.
Load In Settings
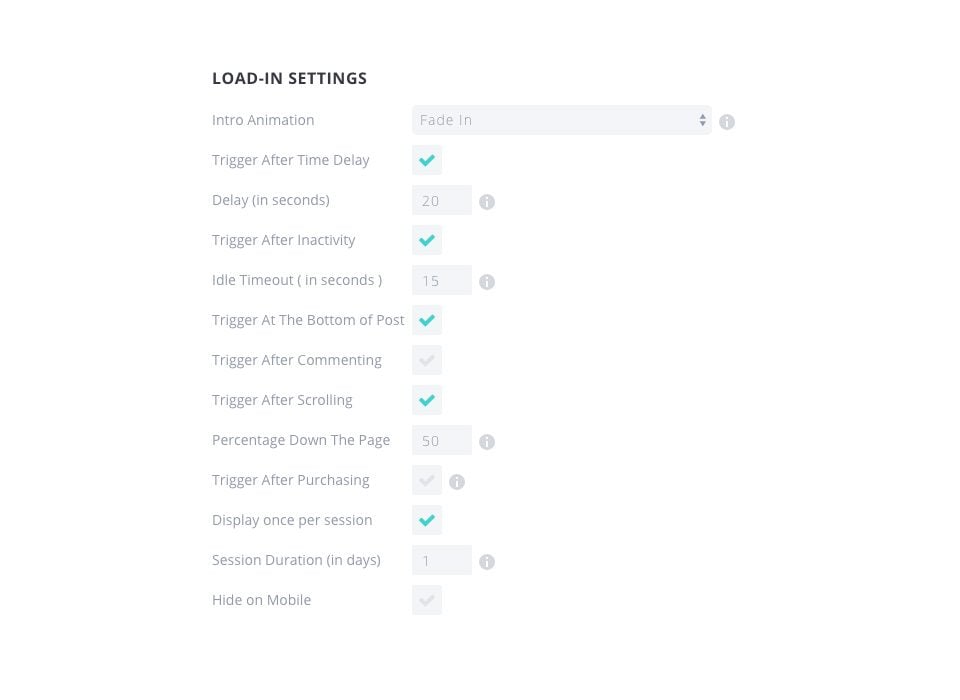
Trigger After Time Delay
If Automatic PopUps are enabled, this setting will appear, allowing you to specify the timed delay (in seconds) of your social po-pup.
Trigger After Inactivity
This will cause the pop-up to appear once the user has been inactive for a certain period of time. If the user has left their computer, or left the tab after reading your post, try reminding them to subscribe when they get back!
Trigger at Bottom of Post
Just as a reader reaches the end of your page or post content is a perfect time to offer them a way to subscribe to your content. Enabling this pop-up trigger will auto detect the end of your content and do just that.
Trigger After Scrolling
This will trigger the pop-up after the visitor has scrolled a certain percentage down the page. Depending on the size of your page, and the content within it, you can have the pop-up trigger at specific points within the reading. Depending on the situation, having the pop-up or fly-in trigger at certain percentages may be much more effective than a timing delay.
Trigger After Commenting
This is a great way to target your most engaged visitors. When this is enabled, your visitor will be greeted with a pop-up or fly-in after they have posted a comment on your website.
Trigger After Purchasing
This is another great way to target your most engaged visitors. When this is enabled, your customers will be asked to subscribe to your website after they have successfully purchased a product using WooCommerce.
Triggers NOTE
No matter how many triggers you have selected above, Bloom will only use whichever trigger occurs first so that your users are not overwhelmed with pop-ups if you have multiple triggers enabled.
Display On Post Types
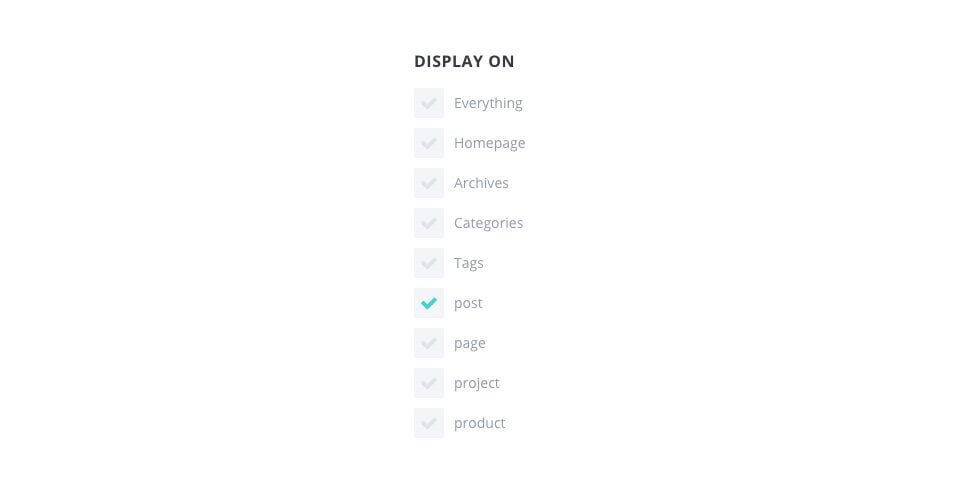
Everything
When selection, the optin will be displayed on every part of your website.
Homepage
When selection, the optin will be displayed on the homepage of your website.
Archives
When selection, the optin will be displayed on archive pages.
Categories
When selection, the optin will be displayed on category pages.
Tags
When selection, the optin will be displayed on tag pages.
Posts
When selection, the optin will be displayed on single post pages.
Pages
When selection, the optin will be displayed on all individual pages.
Other Post Types
Other post types registered by your plugins may also appear here, and selecting those post types will display the optin on all posts with that post type.
Display On Categories
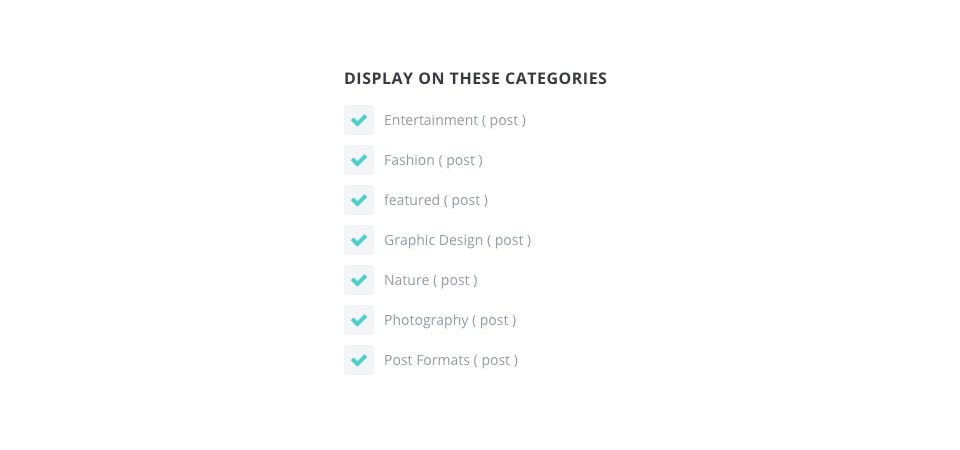
Individual Category Selection
Here can you choose to display your optin on individual categories that you choose.
Automatically check categories created in future
If this option is selected, your optin will be automatically displayed on any new category you create.
Individual Post & Page Targeting
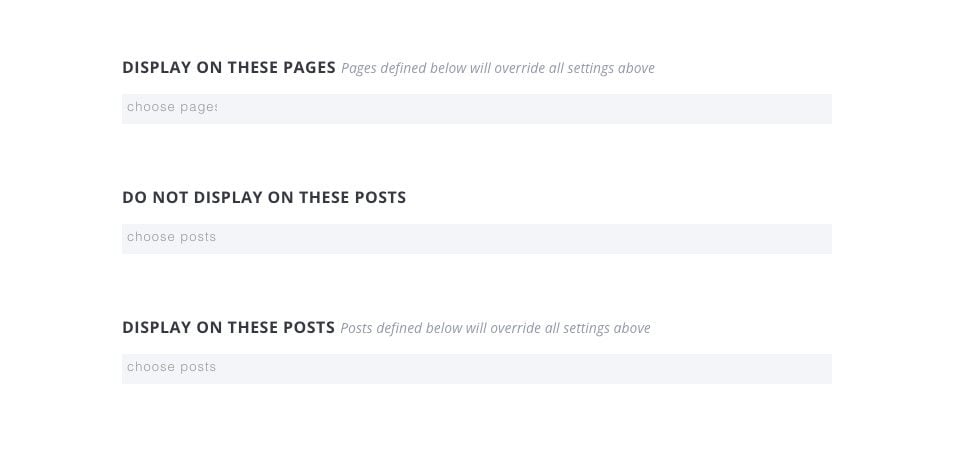
Display On These Pages
Here you choose individual pages that display your optin on.
Do Not Display On These Pages
Here you can choose which pages you do not want your optin to appear on.
Display On These Posts
Here you choose individual posts that you would like your optin to display on.

